
How do I Integrate Cloudinary with a CDN for Faster Image Delivery?
To integrate Cloudinary with a CDN for faster image delivery, you just need to set up your Cloudinary account and start using Cloudinary URLs for your assets. Cloudinary automatically handles the CDN part for you, serving your images and videos via its optimized delivery system.
You can also customize settings for more advanced control, like adding a custom domain or enabling multi-CDN setups. Cloudinary’s media optimizer ensures your images and videos are always delivered fast and in the best possible format.
According to Image Engine, images can make up over 60% of a website’s payload on average, which allows you a potential 40% boost in performance if you just nail this component right.
{{cool-component}}
Step 1: Basic Setup
If you don’t already have an account, sign up for Cloudinary. Once you’ve got that, your media is already ready for CDN distribution. Cloudinary is all about simplicity—just use their URLs for your images and videos, and they’ll be optimized and cached for fast delivery.
A basic image URL would look like this:
https://res.cloudinary.com/[your-cloud-name]/image/upload/[your-image-path]
By just using that URL, your content is automatically distributed through Cloudinary’s CDN network, making it instantly faster for your users.
No need to configure anything extra if you're okay with the default setup. This is especially handy if you're running a site that relies heavily on media content.
Step 2: Using Cloudinary’s Media Optimizer
Cloudinary’s media optimizer is a game changer if you're looking for speed and efficiency. It dynamically adjusts the image size, format, and quality based on the user’s device and connection.
Let’s say you have a large image that’s perfect for desktop but too big for mobile. With Cloudinary, the optimizer will resize and compress that image on the fly.
For example, if you need an image to be resized to 300x300 pixels for a mobile version, Cloudinary will handle it by simply adding parameters to the URL like this:
https://res.cloudinary.com/[your-cloud-name]/image/upload/w_300,h_300/[your-image-path]
With the media optimizer, you don’t have to manually create different versions of your images. Cloudinary serves the best version of your content depending on where and how it’s being viewed.
This is a simple way to enhance performance without compromising quality.
Step 3: Custom Domain Setup (Optional)
If you’re someone who cares about branding or SEO, you might want your images to be served from your own domain. Cloudinary allows you to set up a custom domain or CNAME for media delivery.
This way, instead of using https://res.cloudinary.com/, you can serve your images and videos from something like https://cdn.yourdomain.com/.
Setting up a custom domain can help with SEO because it keeps your URL structure consistent across all media assets. To set it up, you’ll need to configure the CNAME in your DNS settings and link it to your Cloudinary account.
This feature is available on the higher-tier plans, and it allows you to serve all your media under your brand’s domain name.
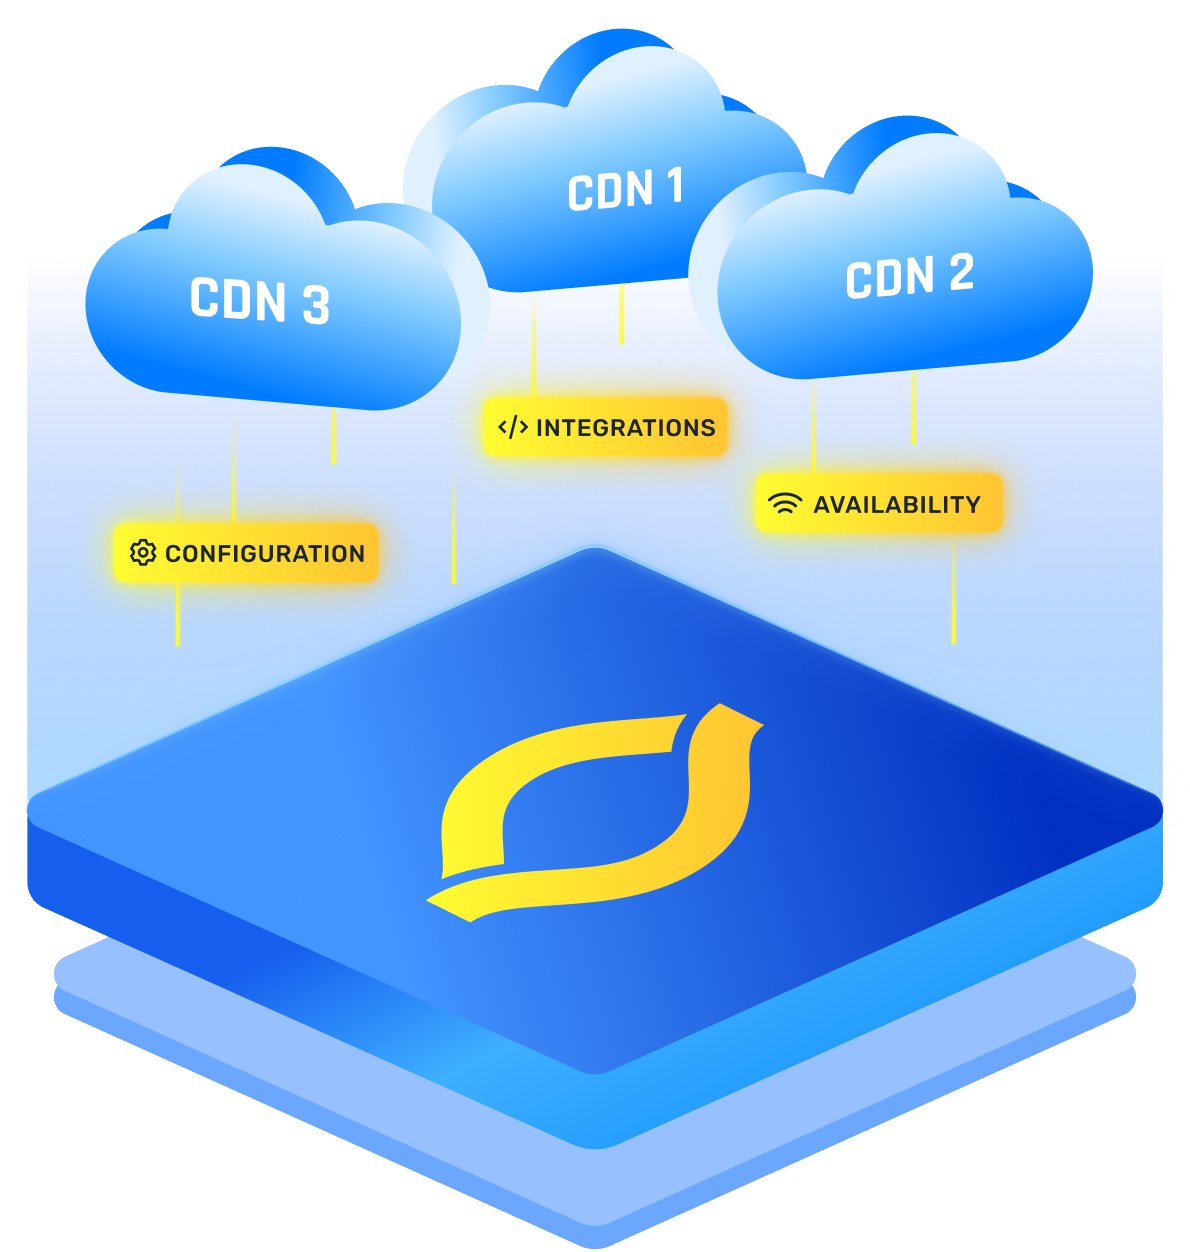
Step 4: Multi-CDN for Larger Scale Operations
For enterprise users, Cloudinary also offers multi-CDN support. This means that Cloudinary will automatically switch between CDNs like Akamai, Fastly, or Cloudflare depending on which one is fastest or most reliable at the time.
This dynamic CDN switching is crucial if you're dealing with a global audience or you’re running a video delivery system.
Let’s say your users are spread across North America, Europe, and Asia. Instead of relying on one CDN, Cloudinary will ensure that your content is delivered via the fastest route possible, reducing latency and load times.
You don’t need to configure anything for this—it’s all handled on Cloudinary’s end, as long as you’re on the appropriate plan.
{{cool-component}}
Step 5: Advanced Caching and Invalidation
Once your images and videos are delivered via the CDN, they’ll be cached on the edge servers. This speeds up delivery for subsequent requests, but what happens when you need to update an image or video?
You don’t want your users stuck with an outdated file. Cloudinary offers caching control, allowing you to invalidate the cached version of an asset when it’s updated.
You can either add a version number to the URL to ensure that the latest version is delivered or use Cloudinary’s API to invalidate the cache across all CDN nodes.
This gives you the flexibility to keep your media up-to-date while maintaining fast delivery speeds.
Step 6: Video Delivery System Integration
Cloudinary also supports fast video delivery through its CDN infrastructure. If you’re running a video delivery service, this is a huge benefit. Much like with images, Cloudinary will automatically optimize your video based on the viewer’s device and connection speed.
Let’s say you’re hosting a high-definition video that might be too heavy for mobile users. Cloudinary will automatically serve a lower-resolution version of the video to ensure smooth playback.
Just like with images, you can tweak the delivery URL to control the video’s size, format, or resolution.